A little help, whenever you need it
Your first gift, one step at a time.
Tell us who it’s for, tap the words and photos on the gift to make them yours, and check the whole surprise before you share it. Keep this guide beside your editor, or jump to the part you need.
Make one freeWatch the 1:10 tour ↓Watch whenever you need a hand
A quick look around.
Take the 1:10 tour, or jump straight to a written step. You can pause, replay, or open the video full screen.
English narration and captions included. Open video separately
Read the video transcript
Let’s make something special for someone you love. You can try it free.
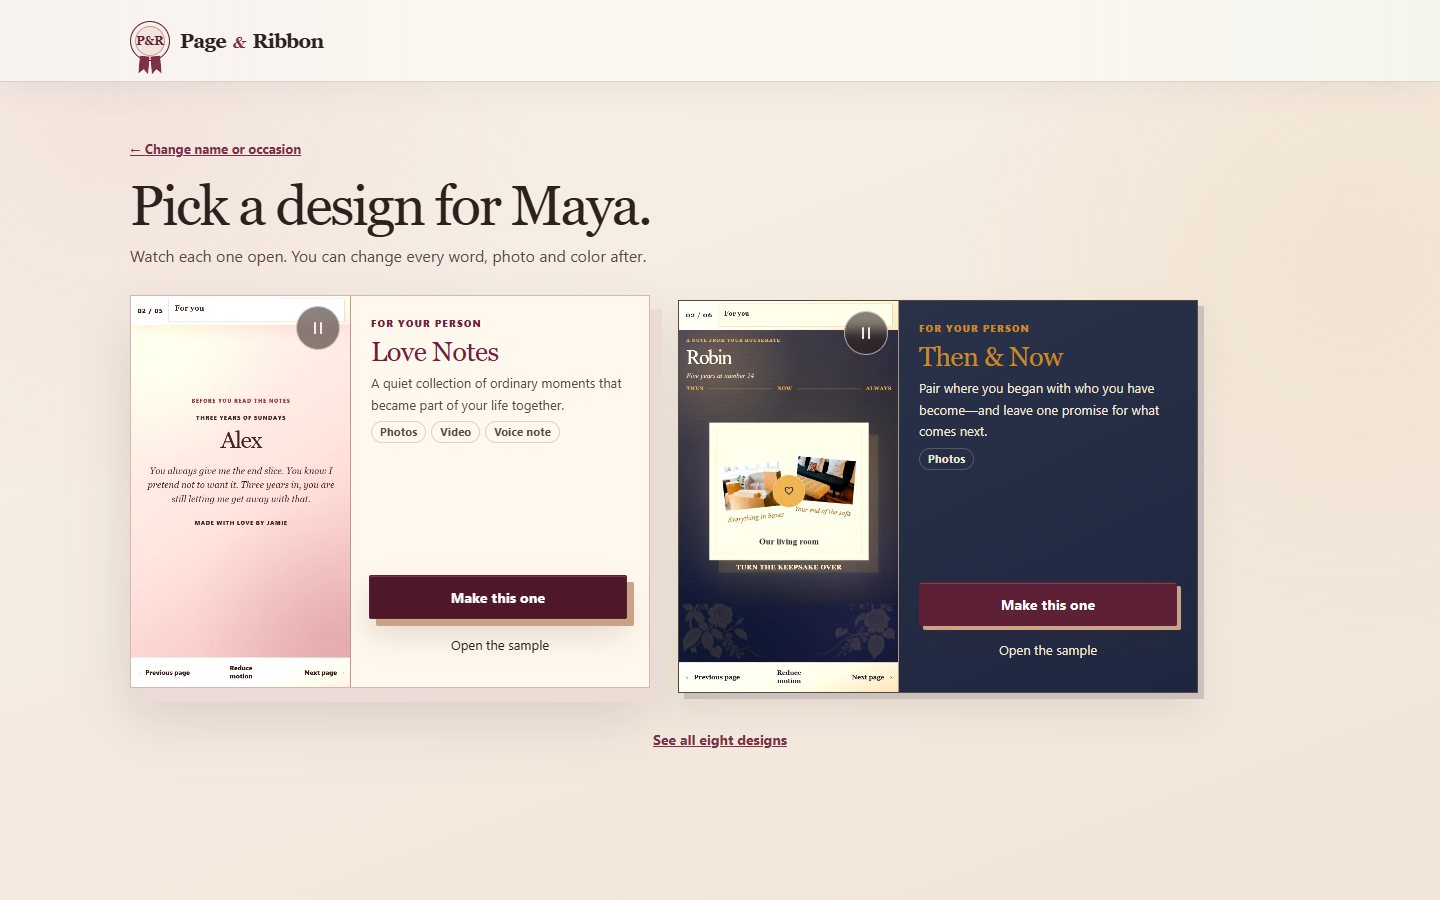
Start with who it’s for. Type their name, pick the occasion, and choose a design. Each one shows how it opens.
Your gift opens with their name already on it. Tap any words on the gift to change them, and watch it update as you type.
Add another note, move one, or remove it, with the small buttons in the bar. Everything saves on its own.
Tap a photo area to add a picture. Choose one you’ve already added, or upload a new one.
Design changes the whole gift at once: the colors, the font, and the decorations.
Motion sets how each page turns, and how quickly.
Preview plays the whole gift, just the way they’ll see it. Open the wrapping and check every page.
When you’re ready, Next step shows anything left to do. Keep this gift saves it, and you only pay when you send it. Need a hand? Help is always in the toolbar.
Step 1 of 7
Choose the design before you start
Tell us who it’s for, then pick a story that suits them.
- Choose “Make one free” on the home page, or “Make this one” on a design in Templates.
- Type their name (or skip it) and, if you like, the occasion. Each design shows a short video of how it opens.
- The editor opens with their name already on the gift. You can try it before creating an account; if you are signed in, it is saved to your studio as a draft.
Choosing another design starts a separate gift. If you already have an unsaved gift in this browser, you’ll be asked before anything is replaced.
Step 2 of 7
Move around the gift
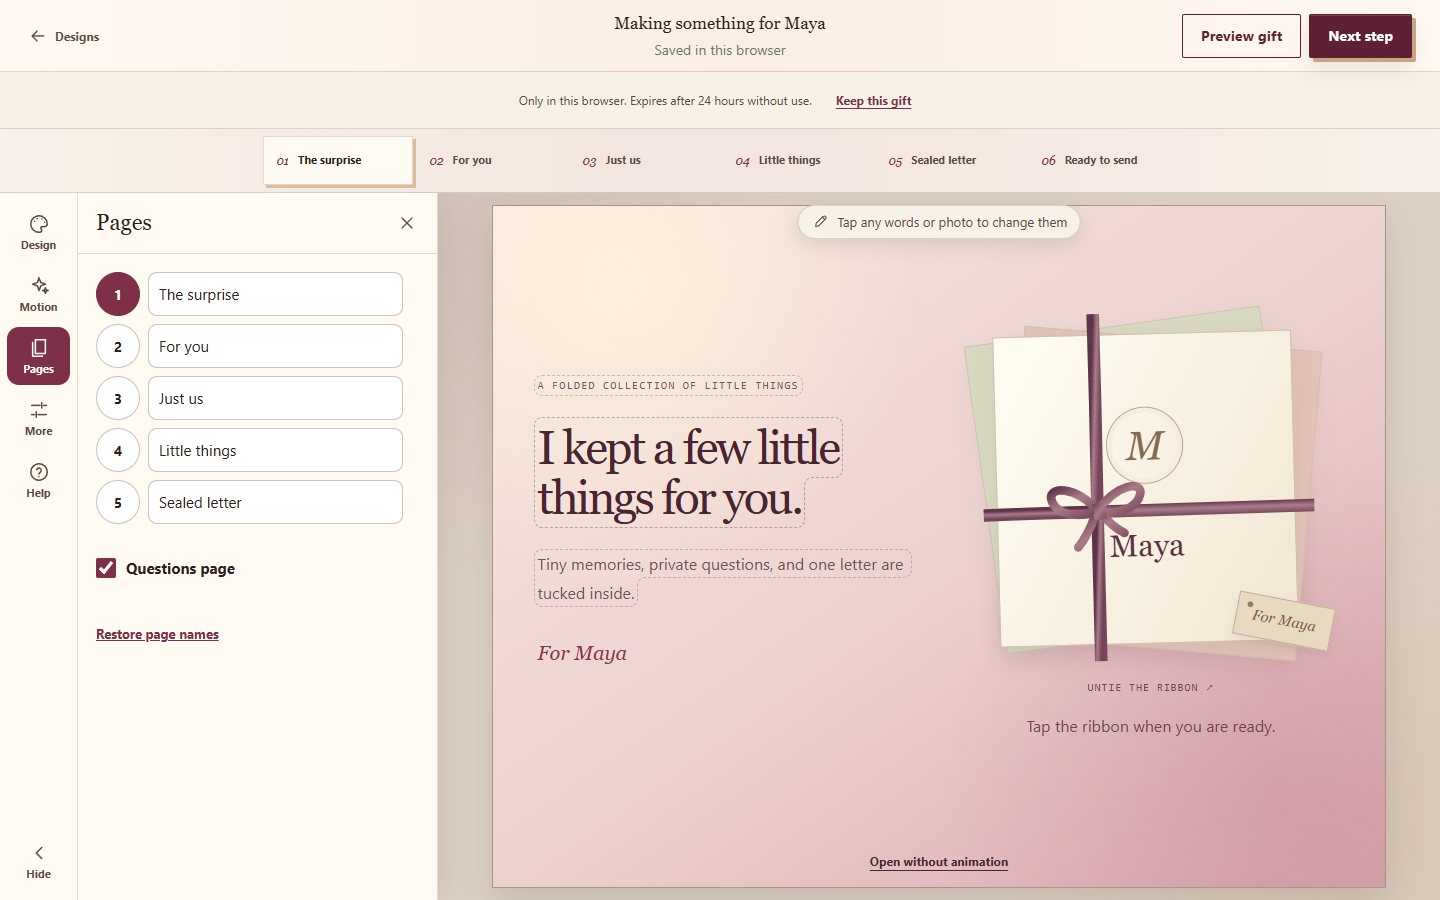
Each numbered page is one part of the recipient’s experience.
- On a computer, choose a page in the numbered row above the gift. On a phone, use the page picker or its arrows.
- The toolbar sits on the left on a computer and along the bottom on a phone: Design, Motion, Pages, More and Help. Hide tucks it away.
- Pages lists every page, so you can jump to one or rename it.
The editor shows your current page. Preview gift (View gift on a phone) plays the whole gift from the beginning.
Step 3 of 7
Make one page personal
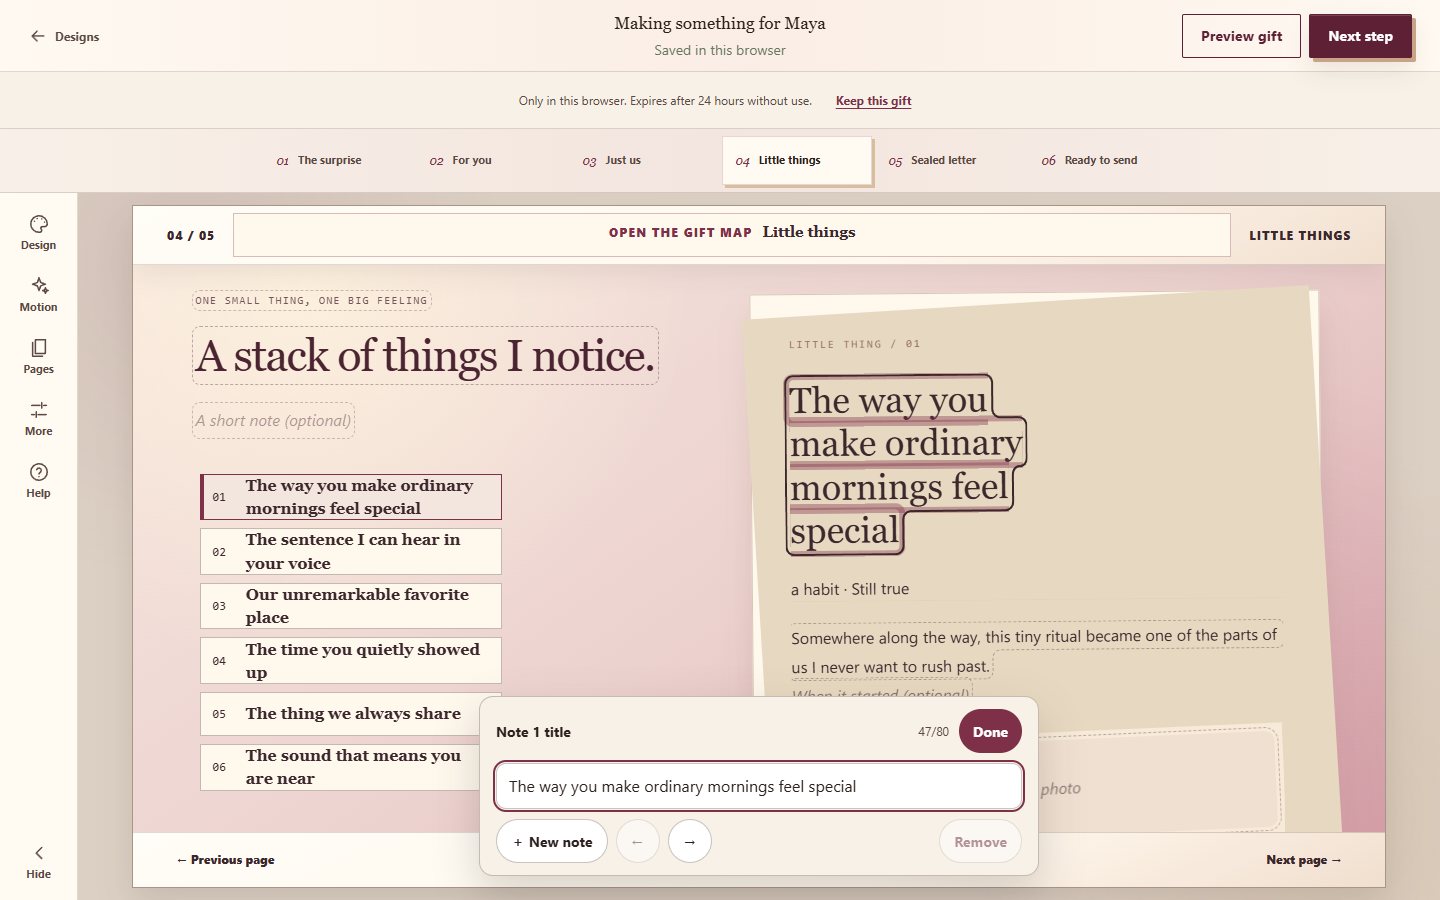
Tap the words or photos on the gift itself.
- Tap any words on the gift. A small bar opens where you type; the gift changes as you go.
- For notes, stories, eras, rooms and other repeated parts, use New, the arrows and Remove in that bar, or the + buttons on the page.
- More opens every setting for the current page, including ones the gift doesn’t show.
- Changes save automatically. Check the save message in the header before leaving.
The design is guided, not a blank canvas: the words and photos are yours to change, and the decorative parts belong to the design.
Step 4 of 7
Add and position your photos
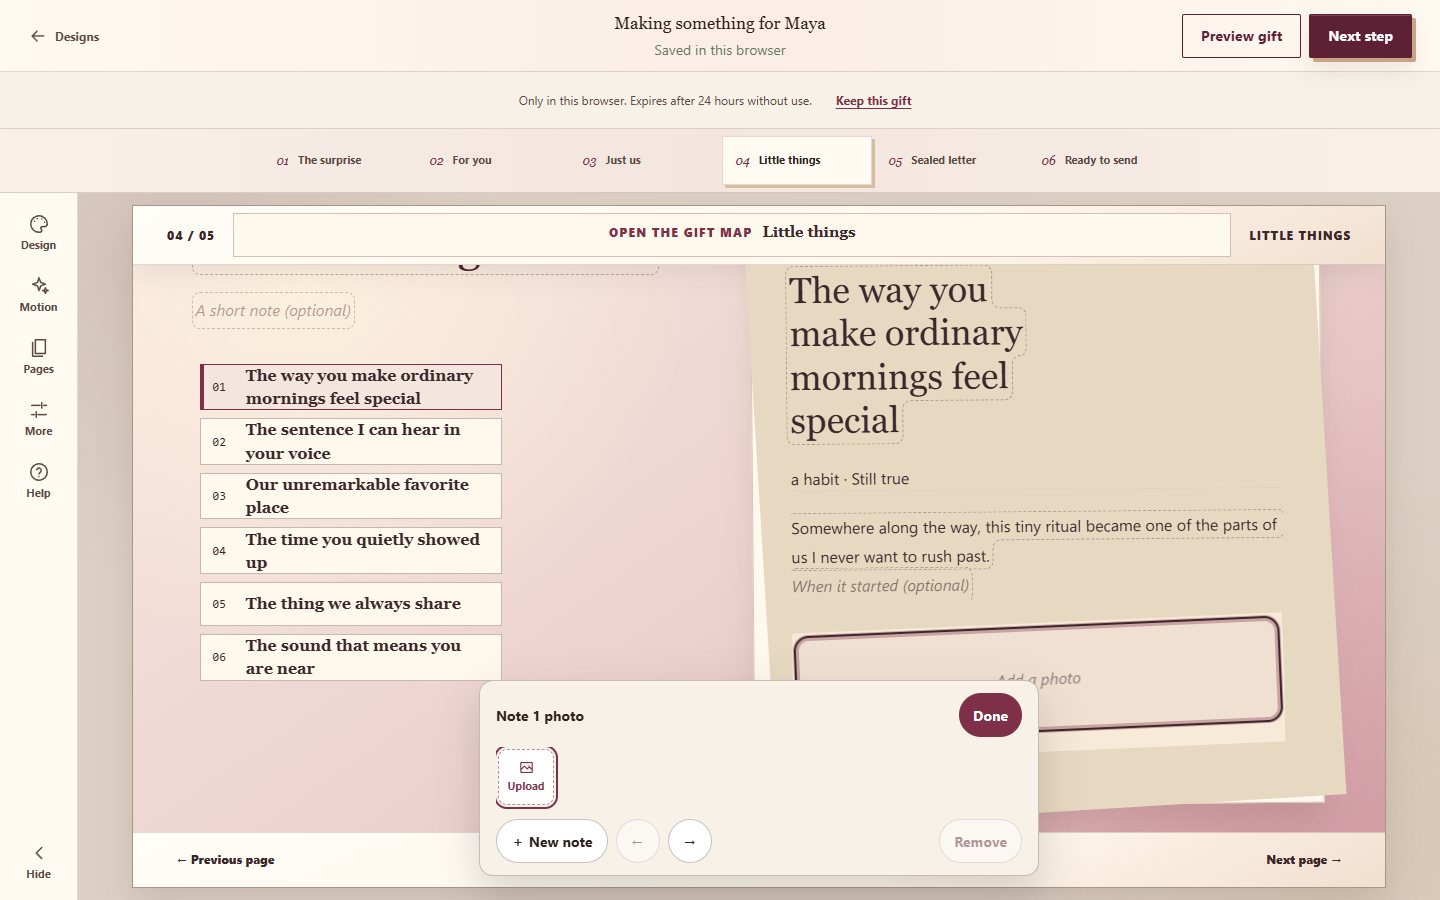
Tap a photo area on the gift to fill it.
- Tap a photo area on the gift, then choose one of your photos or Upload a new one.
- Where a part holds several photos, the numbered squares show each one and + adds another.
- Describe photo adds words for people using screen readers. Crop and position opens the detailed controls.
A guest preview supports up to four compressed photos on the same device. Create a verified account to keep the draft in your studio and use the full supported media options. Guest work expires after 24 hours without use.
Step 5 of 7
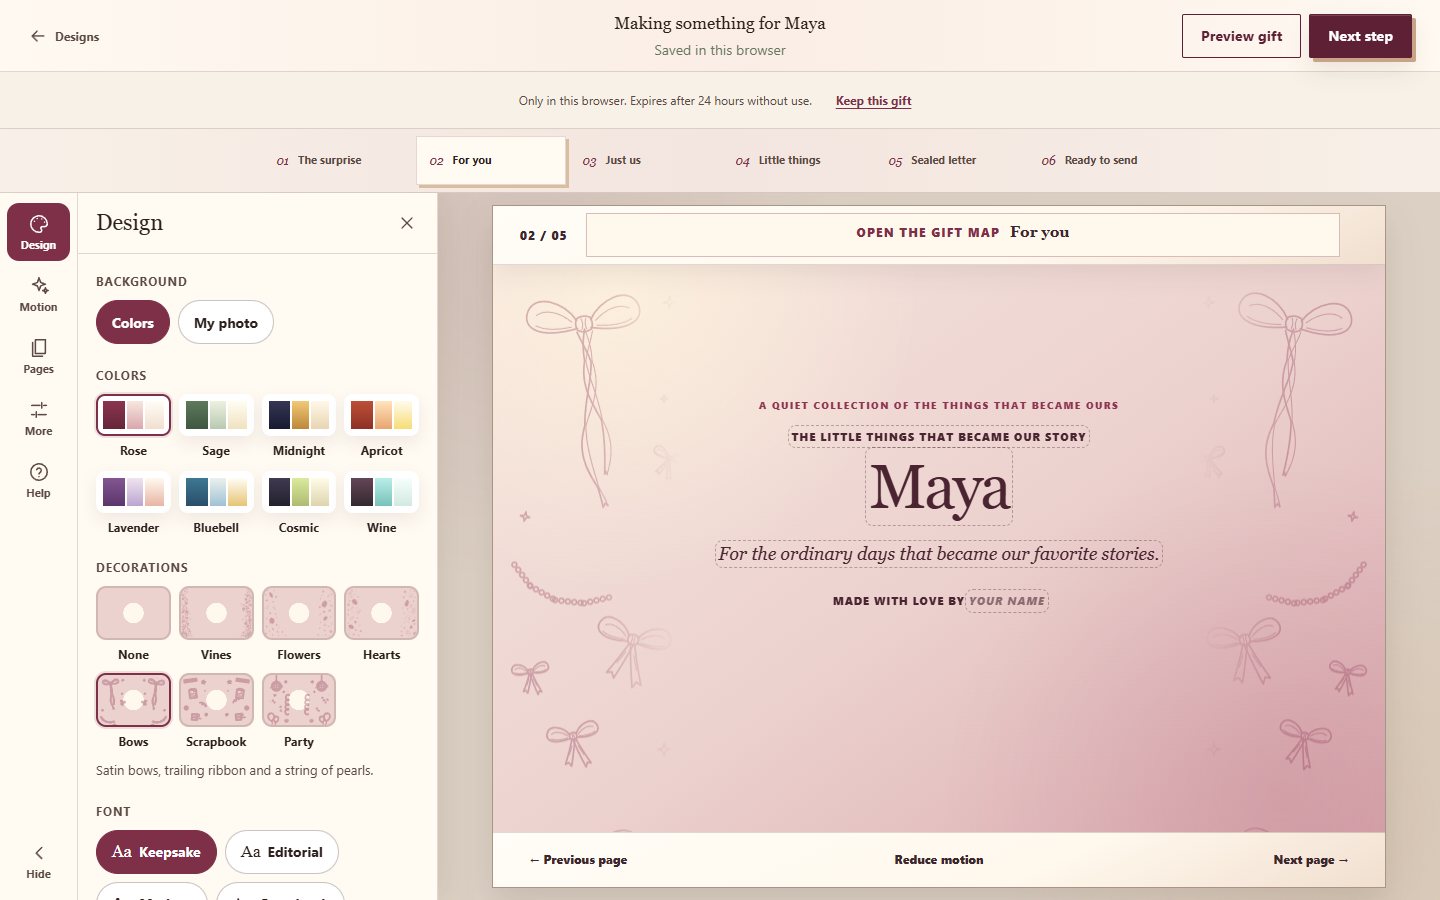
Change the look of the whole gift
Design and Motion change every page at once.
- Design: colors, font, decorations, and the background (colors or one of your photos).
- Motion: how pages turn, the pace, and whether they follow the pages in order or explore a gift map. Preview shows it moving.
- Pages: rename pages, or turn the questions page on or off.
Options vary by design. A setting that isn’t shown isn’t supported on that design.
Step 6 of 7
Try it as the recipient
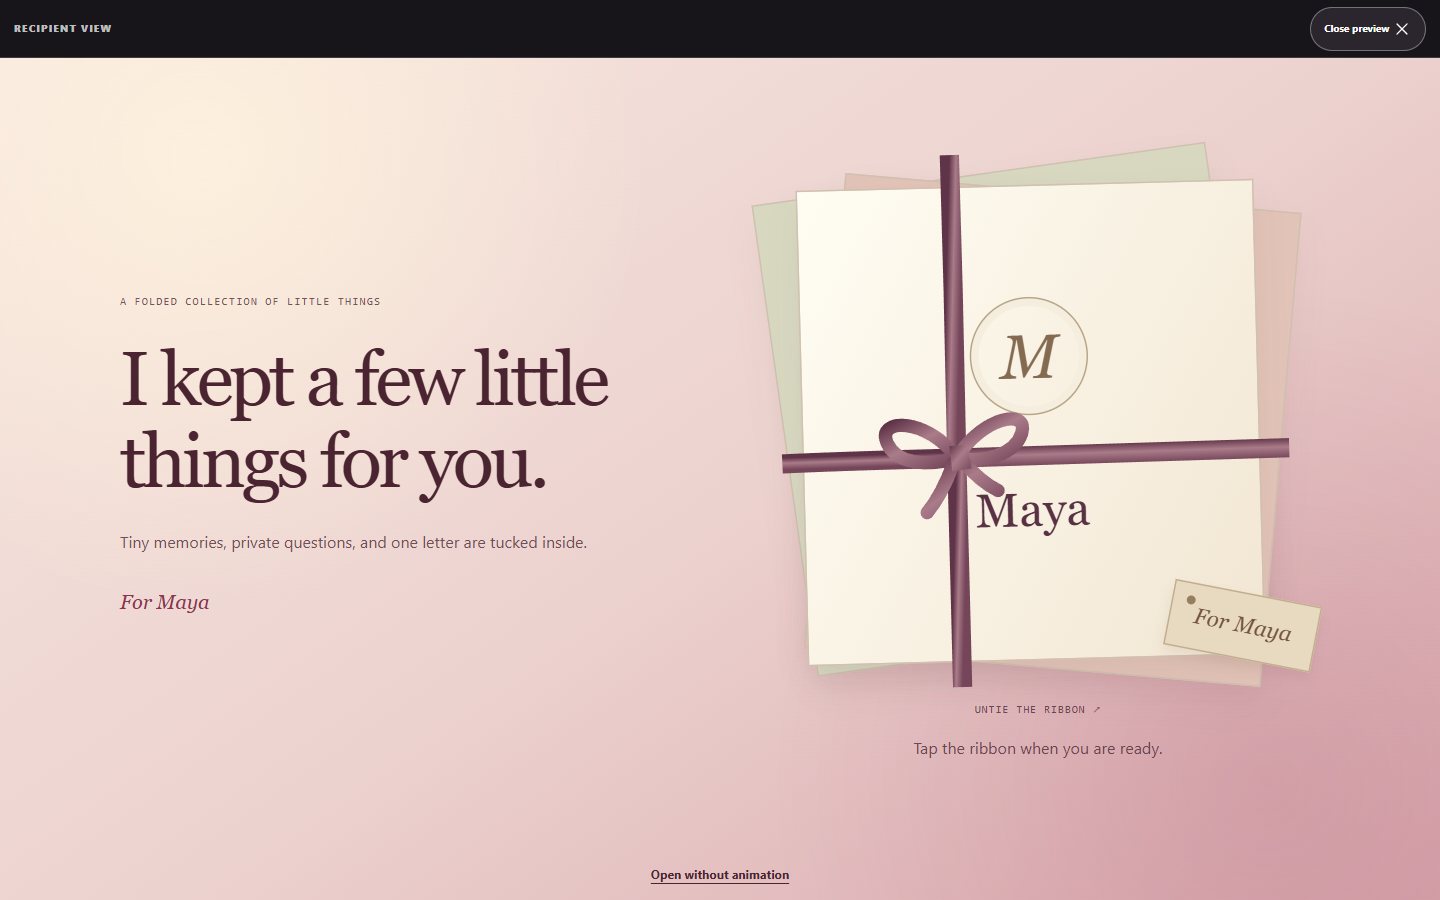
Check the whole journey, not just the page in the editor.
- Choose Preview gift on a computer or View gift on a phone. Next step also offers a preview.
- Open the wrapping, move through the pages, answer your questions, and read the final letter. Check names, captions, and photo framing.
- Close the preview to return to the editor.
Previewing doesn’t publish your gift or create a shareable link. Check it on a phone as well as a computer before sharing.
Step 7 of 7
Save, publish, and send
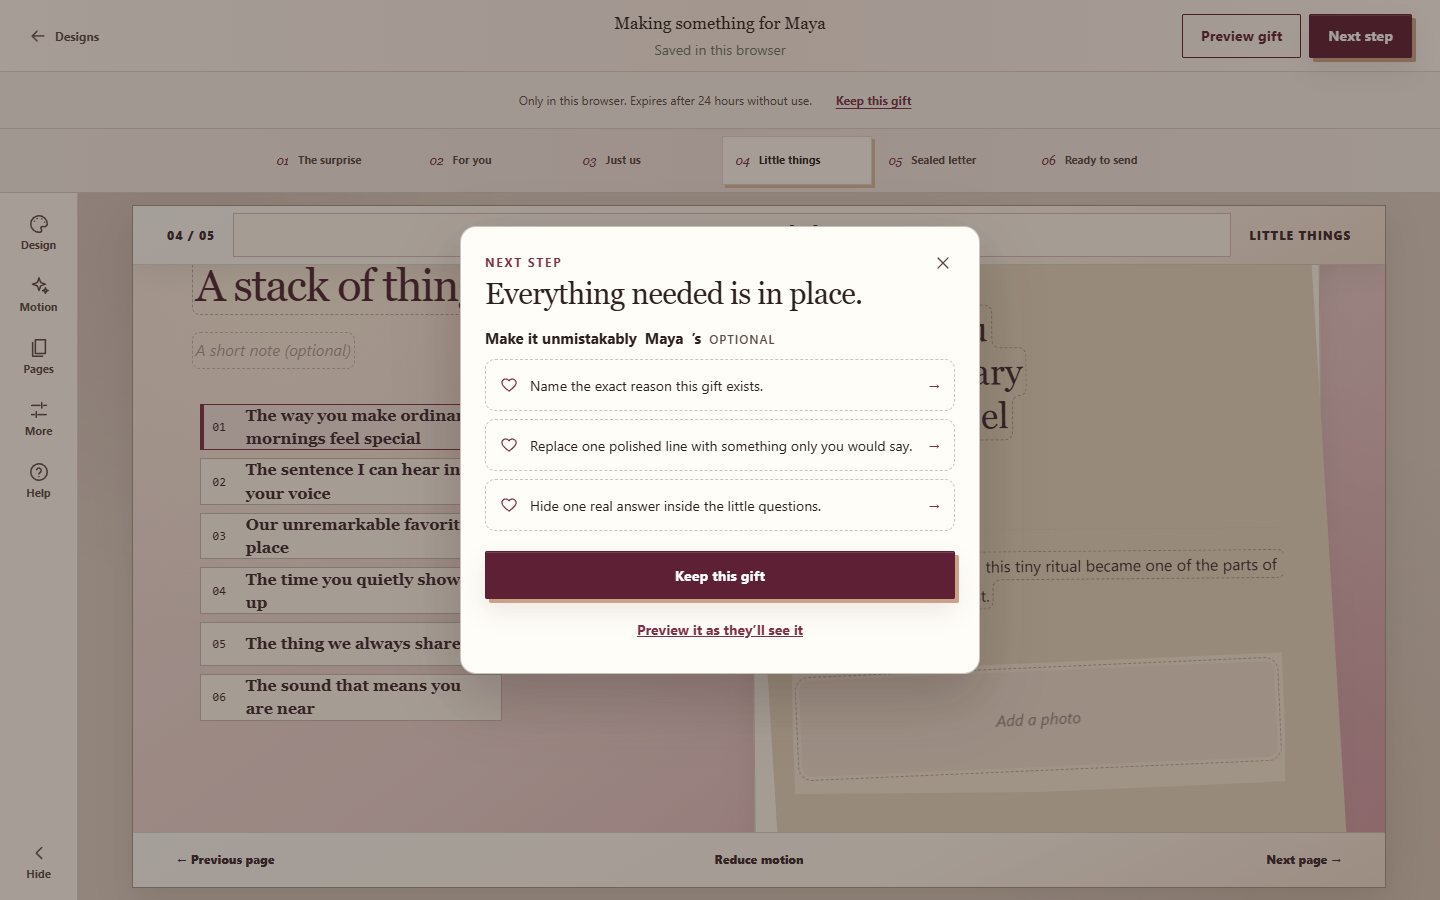
Next step shows what’s left before you send it.
- Choose Next step to see anything still needed before sending, plus a few optional ideas. Each one takes you to the right spot.
- If you started without an account, Keep this gift saves it to a verified account. Saving costs nothing.
- When it’s ready, follow the checkout and publication steps. Publishing costs US $19 one time, plus applicable tax, and includes a year of sharing; building and previewing are free.
- After publication, copy the recipient link from the sharing controls. A new recipient PIN uses 6–8 digits; send the PIN separately from the link.
The unlisted link is hosted for one year (365 days) from first publication. Editing does not reset the expiry date. Add another 365 days for US $4.99, plus applicable tax, from My gifts; no automatic renewal. A preview link or an editor address is not the recipient’s share link.
Start with one memory.
You can try every design before creating an account. For pricing, supported media, privacy, and refunds, see common questions.
Make one free